I've been asked a few times recently about how I've done the basing on my Necrons so I thought I would try my hands at writing a bit of a tutorial about it. I've pretty much done with basing most of my Necrons now but I've recently picked up a few of the new Chaos models I'll use one of those as an example.
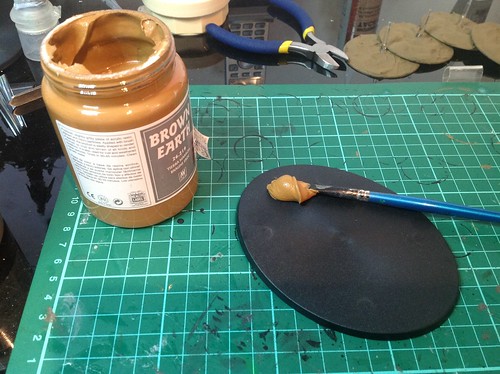
The 'secret ingredient' that I use is the Vallejo Textures range. I picked up a couple of tubs of this stuff from Boyes in Scarborough a few months ago and I've used it ever since. The tubs are pretty big and only cost £6.25 each so they are much better value than the texture paints from GW.
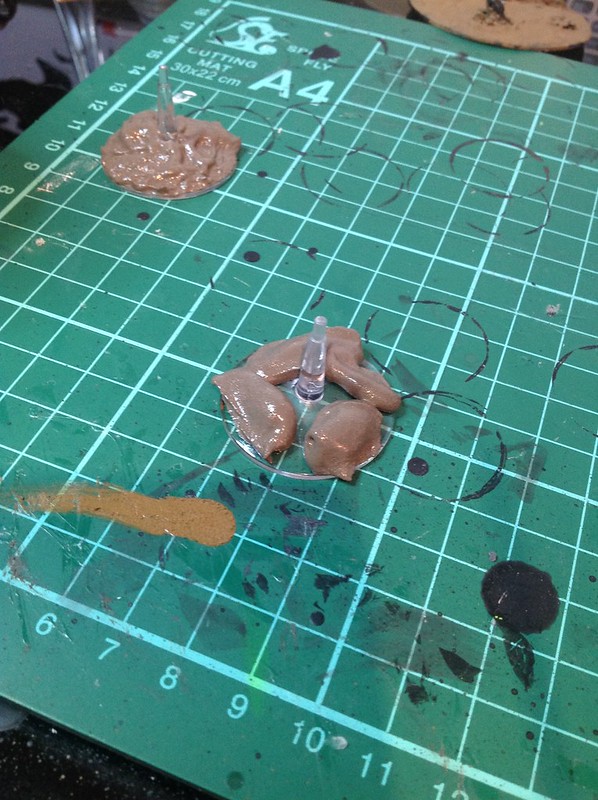
This stuff is quite thick and is almost more like a putty than a paint so I tend to spread it on quite thickly and then just leave it for a couple of days to thoroughly dry.
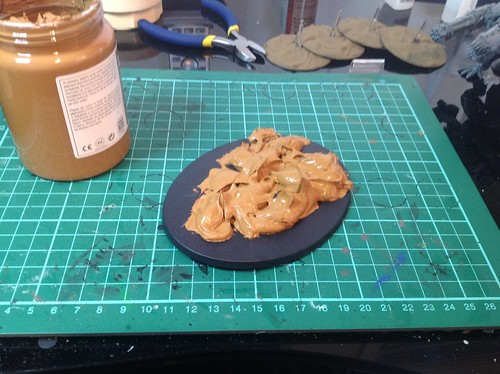
I always use an old brush for this and for a large base like this I make sure that it is quite a decent size as well.
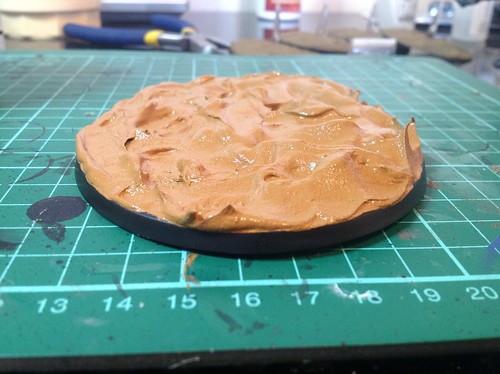
Once I've got a decent amount on the base then it's time to start spreading it out, smoothing it a bit and if I can be bothered then I'll sculpt it slightly to show some hilly/bumpy areas.
I try not have too many sharp peaks showing but it is a bit difficult to avoid. There are a couple of clear examples showing in the photo above but with those I would usually flatten them down a bit after it has been left to dry for a couple of hours.
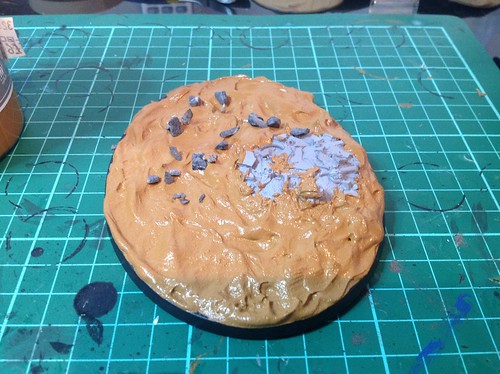
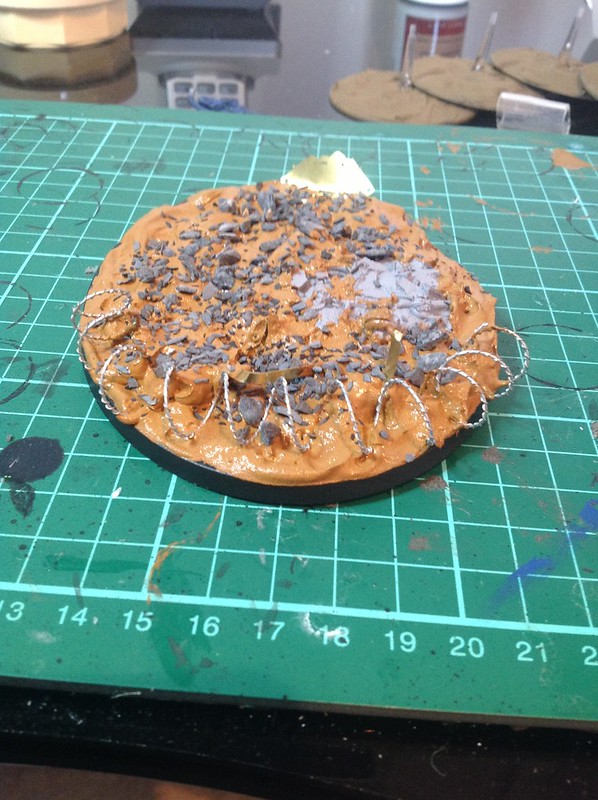
Next with this one I added a resin base from the GW 40k basing set and then blended it in a bit. I also then started to add some gravel from the same set.
I dont usually glue any of these bits down and with most of the gravel type stuff I find that just lightly scattering it on the surface is enough for it all to stick down, with some of the slightly larger chunks though I may just slightly press them in to make sure that they are stuck firmly enough.
Finally I added some GW razor wire and a couple of little metal strips (GW basing set again) and again with these Ive found that just pressing them in to the basing material and smoothing/blending it all in is sufficient for it to stick down once it is all dry.
From this stage I'll now let it dry for at least 2 days, I have no idea if it actually takes this long but I do spread the stuff on very think so I like to make sure that it's had plenty of time.
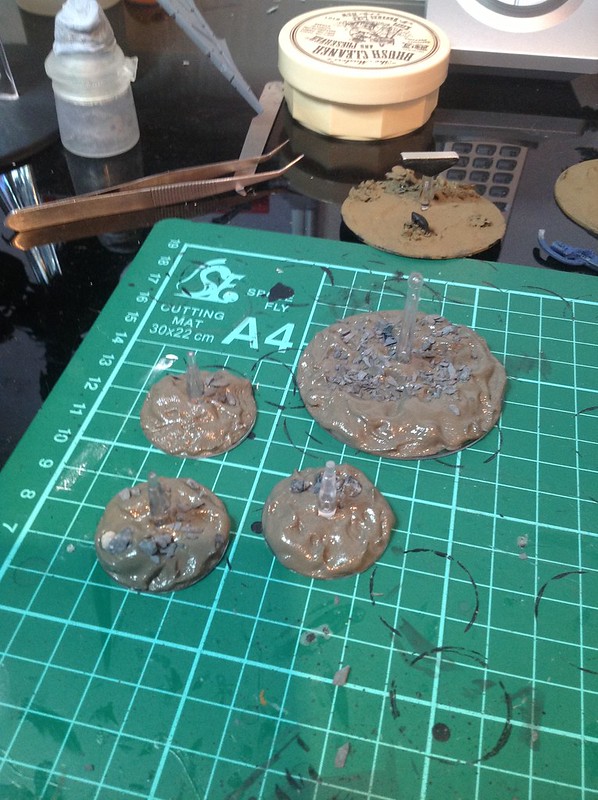
Here are a few flying bases for my Necrons that Im still working on as well.
Later on in the week I'll start painting these and will add part 2 of this tutorial to my blog.
UPDATE : I checked the main base featured in this after 2 days and it was still slightly squidgy, it definitely could be painted at this stage but some of the gravel that I add was still a bit loose so I'll be leaving for another couple of days at least. The smaller bases that I didnt put so much of the paint on were all fairly dry and firm.

looks like peanut butter, lol.
ReplyDeleteYeah that's a really good description of it actually as it spreads in quite a similar manner as well :-)
ReplyDelete(smooth though, not chunky)